

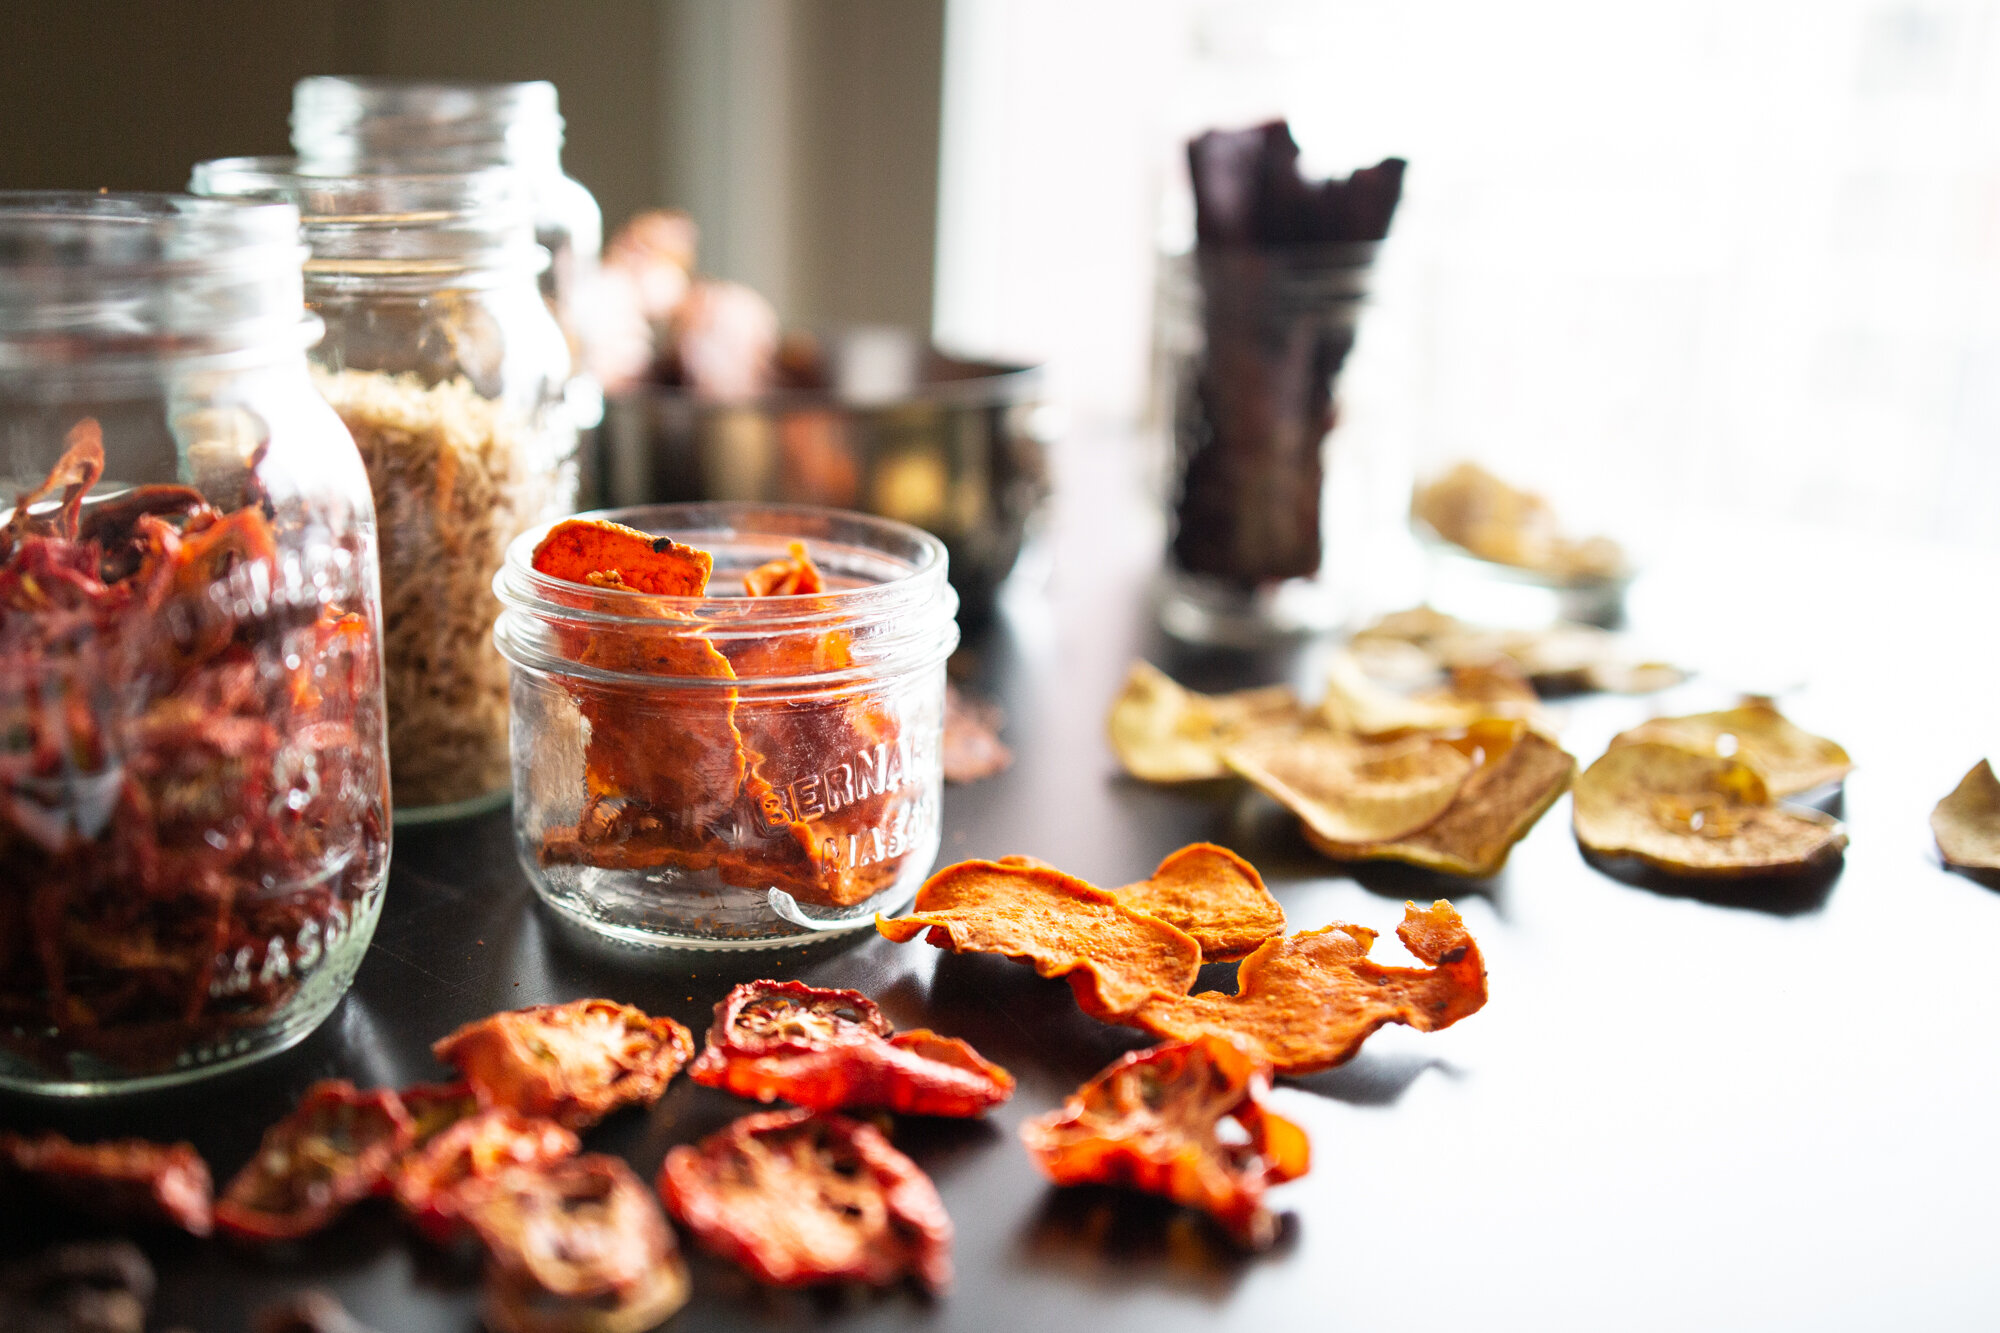
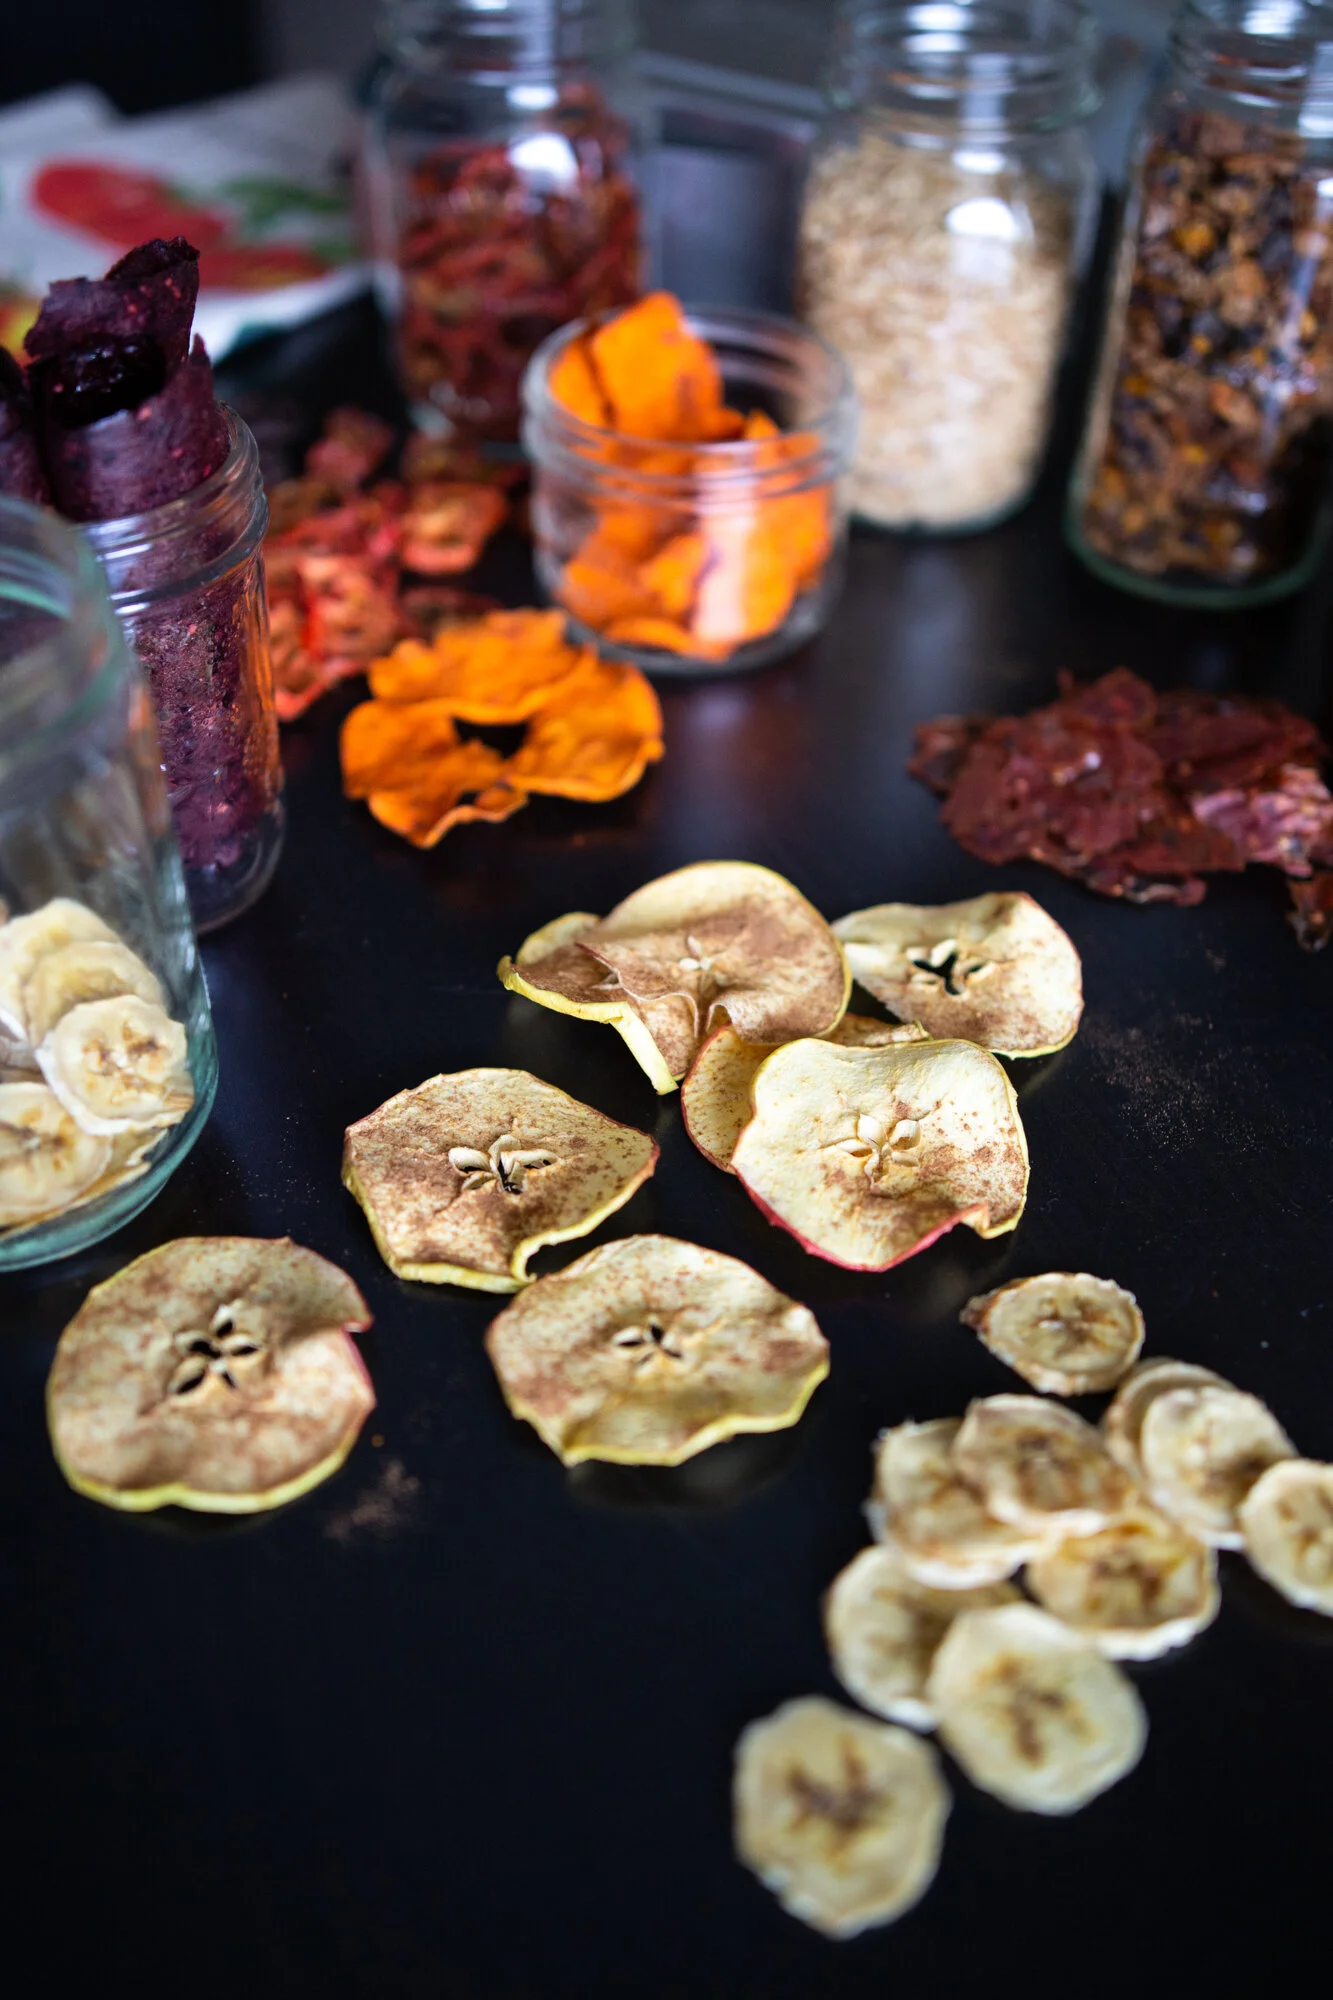
Dehydrating in the Oven
Don’t have a dehydrator? Don’t worry! You can use your household oven to dehydrate most common foods!
Oven vs Dehydrator
So you want to start dehydrating, does that mean you have to go buy a dehydrator?? Nope! You can totally use your oven to dehydrate with. However, just a few important things to keep in mind if you’re using your oven instead of a dehydrator:
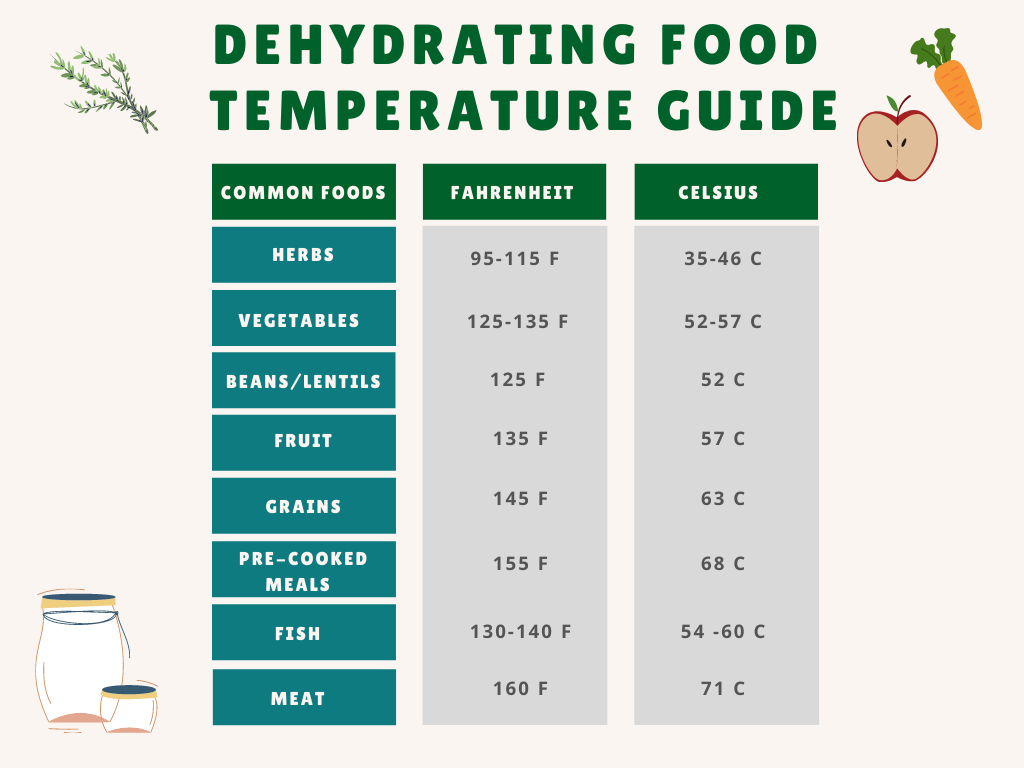
Temperature. Not all modern oven's operate at a low enough temperature for dehydrating. Most foods dehydrate between 120-160F (50-70C). Make sure your oven runs that low before trying to dehydrate, otherwise you may burn your food! You may want to pop the oven door open a smidge to keep the temperature low enough. Using a dedicated oven thermometer will be handy in this case.
Airflow. If you have a convection setting in your oven, use it. Even with the right temperature, without good airflow, the food will not dehydrate as well. Pro Tip: If you do not have a fan in the oven, crack the oven door frequently to let excess moisture out.
Timing. You will have to plan around when you want to use your oven for other cooking/baking purposes. Some foods can take between 8-12 hours to dehydrate. So if you use your oven a lot for cooking, you may want to consider investing in a dehydrator eventually!
Capacity. Unless you have extra racks for your oven, you don’t have the same capacity as a dehydrator to dry multiple trays of food. Many dehydrators have 10 trays stacked closely together, making it easier to dehydrate more food at the same time. If you’re not planning on dehydrating a lot of food at once, this won’t be a concern for you!
Energy Efficiency. Electric dehydrators are self-contained appliances with a heat source, fan for air circulation, and multiple trays for drying. You can dehydrate a lot more food in them at once compared to an oven. They can also have thermostats, finer temperature controls, and double-walled construction for more efficient energy use. If you plan on dehydrating a lot, you may want to consider purchasing a dehydrator to save on energy usage
The huge pro of using your oven to dehydrate is that you don’t have to go spend extra money on another appliance (and if you live in an apartment like me, you don’t have to worry about finding storage space for your dehydrator!).
Temperature Guide
Basic Steps
Wash, peel (if necessary), and cut your food into 1/4 - 1/2 inch (6-12mm) strips.
Pretreatment (if necessary).
This refers to certain processes done to fruits and vegetables to help prevent oxidation and help them retain their colour and flavour. There are a few options for pretreatment:
Citric acid/ascorbic acid dip: mix 1 tsp (5mL) of citric acid/ascorbic acid (Vitamin C) to 2 cups water and soak sliced fruit for 3-5 minutes. Rinse and drain thoroughly.
Fruit juice dip: add 1 cup of high-citric acid fruits (oranges, lemon, limes) to 4 cups water. Soak sliced fruit for 10 minutes, drain thoroughly. Note: this method does add some flavour from the citric fruit to the fruit you are dehydrating.
Honey dip: use 1 cup of dissolved honey in 3 cups warm water. Dip sliced fruit and drain well before dehydrating. Note: this will add considerable sweetness to the fruit you are dehydrating and may be best for more tart fruits like rhubarb or cranberries.
Blanching or steaming (for vegetables): boil or steam vegetable for 3-5 minutes, then place in ice water bath to cool. Drain thoroughly.
Arrange in single layer on wire cooling rack or cake rack, to allow for good airflow.
Place racks in oven at desired temperature and monitor. Crack oven door open if necessary. Most foods will take between 6-12 hours to dry.
Remove food from oven and allow to cool before storing.
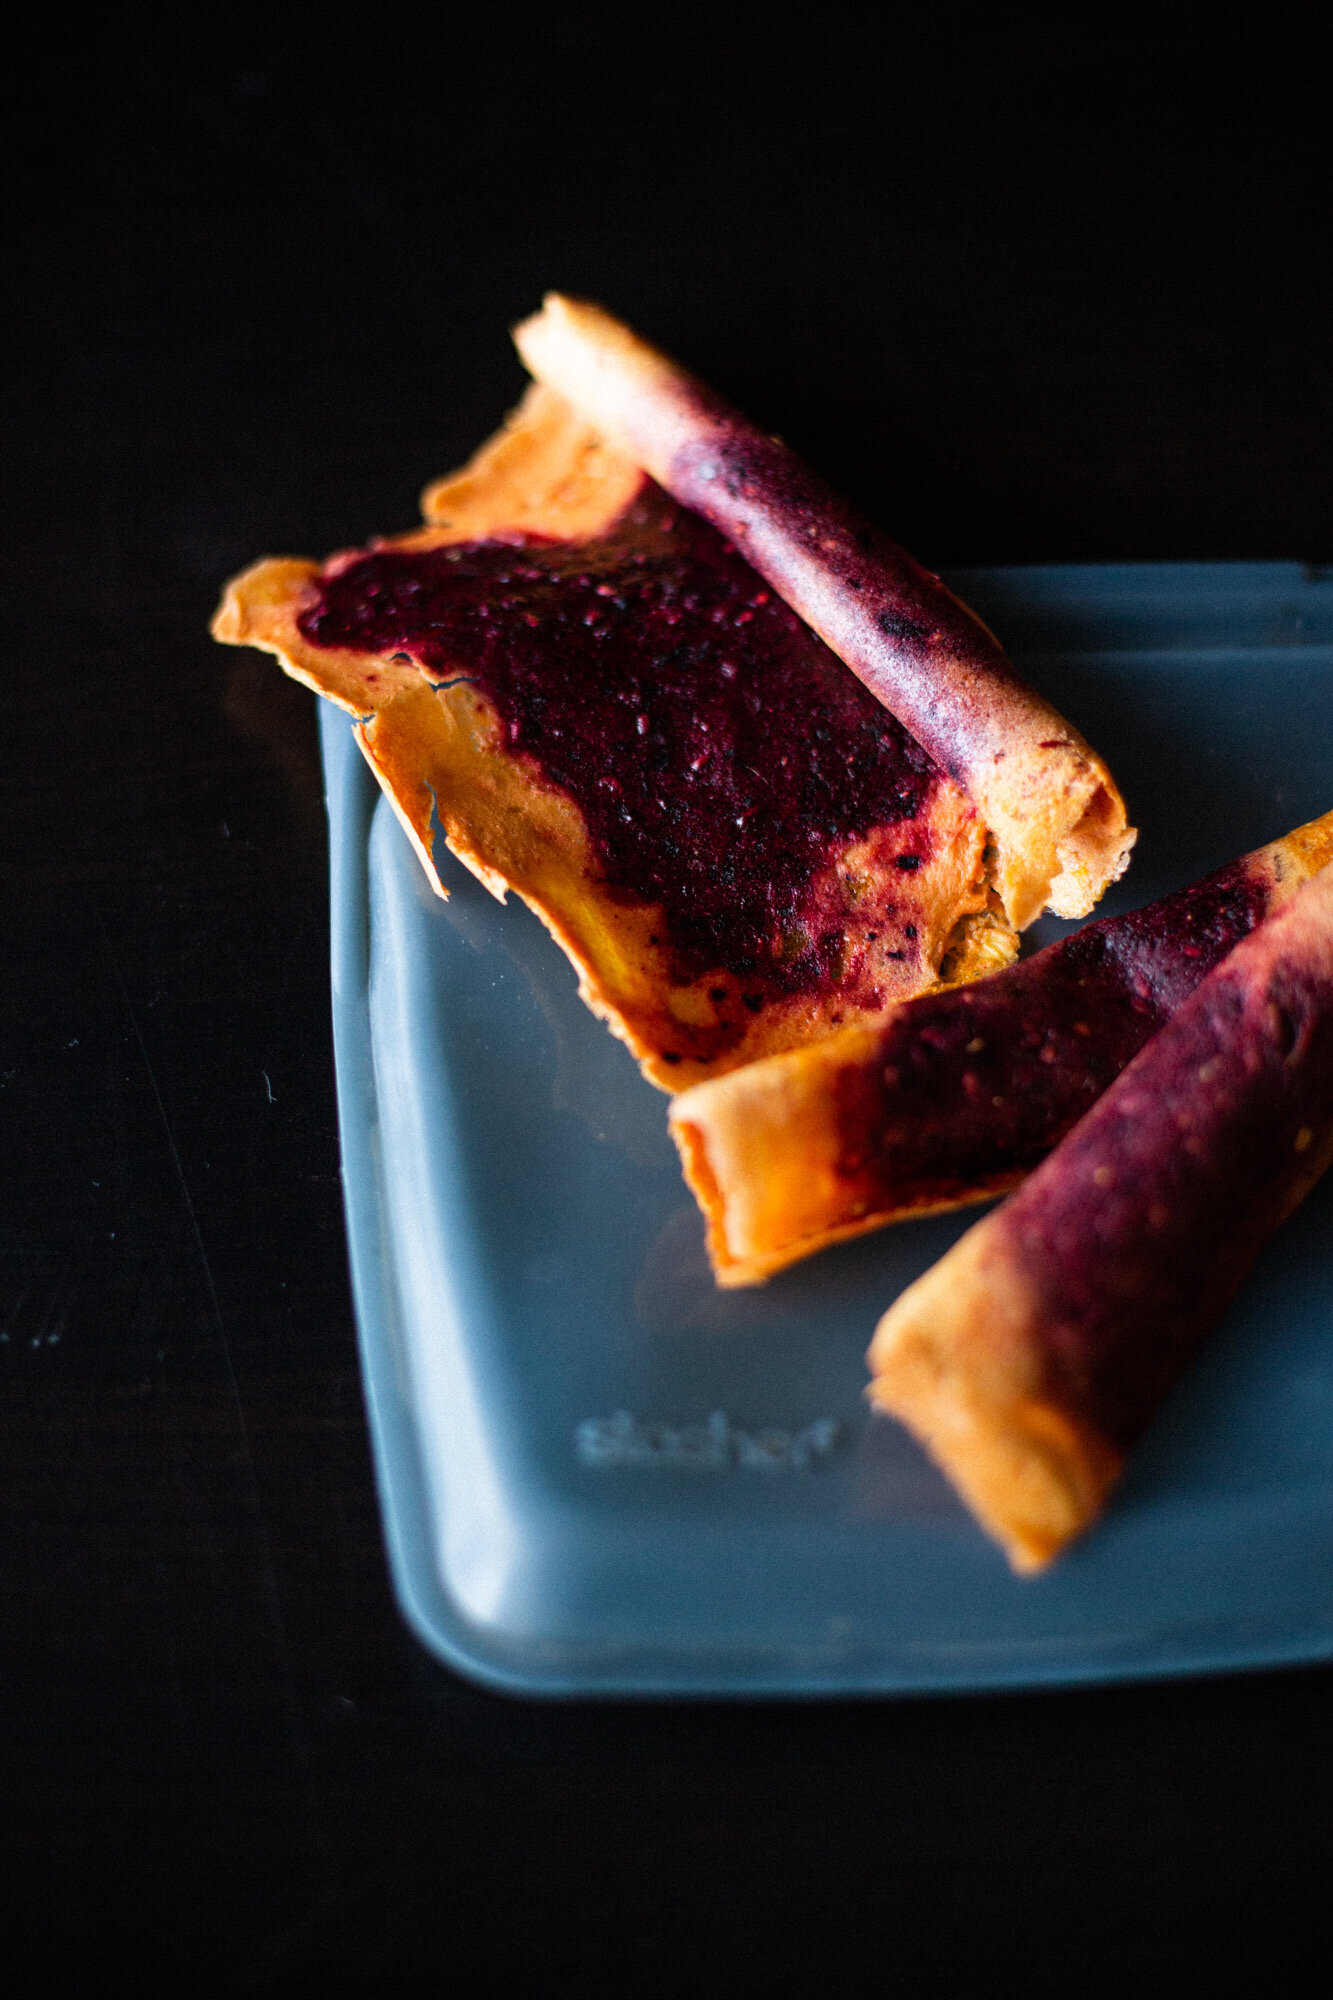
Fruit Leathers In The Oven
When dehydrating fruit leathers in the oven, you can increase the temperature to 150-200F (65-93C) and bake for 6-9 hours.
Puree your fruit mixture into a smooth puree.
Line a cookie sheet with parchment paper and spread puree evenly to 1/4 inch thick (6mm).
Bake until leather easily pulls away from parchment paper and is no longer sticky. Allow to cool on the counter for 4 hours before rolling up and storing in airtight container.
For some flavour ideas, check out my Homemade Fruit Leathers.

Want to know more about dehydrating or thinking about buying a dehydrator?
Check out my post, Dehydrating at Home - The Basics.
Got questions or your own useful tips? Leave a comment below!


