

DIY Rustic Christmas Wreath (With Dehydrated Citrus Fruit)
‘Tis the season for DIY Christmas crafts! Make your own homemade Christmas wreath using tree clippings, dehydrated citrus fruits, and whatever else you can forage!

DIY Christmas crafts are a fun way to get creative and festive in the holiday season. Whether you’re an artificial or real tree person, you can make your own homemade Christmas wreaths using leftover tree clippings and your choice of decorations.
Full disclosure: this was my first time creating a homemade Christmas wreath so by all means, I am NOT an expert. But I thought it was such a fun and festive craft that I would share how I created mine and chat a little about dehydrating your own fruit (to use for snacks AND decorations).

What You’ll Need
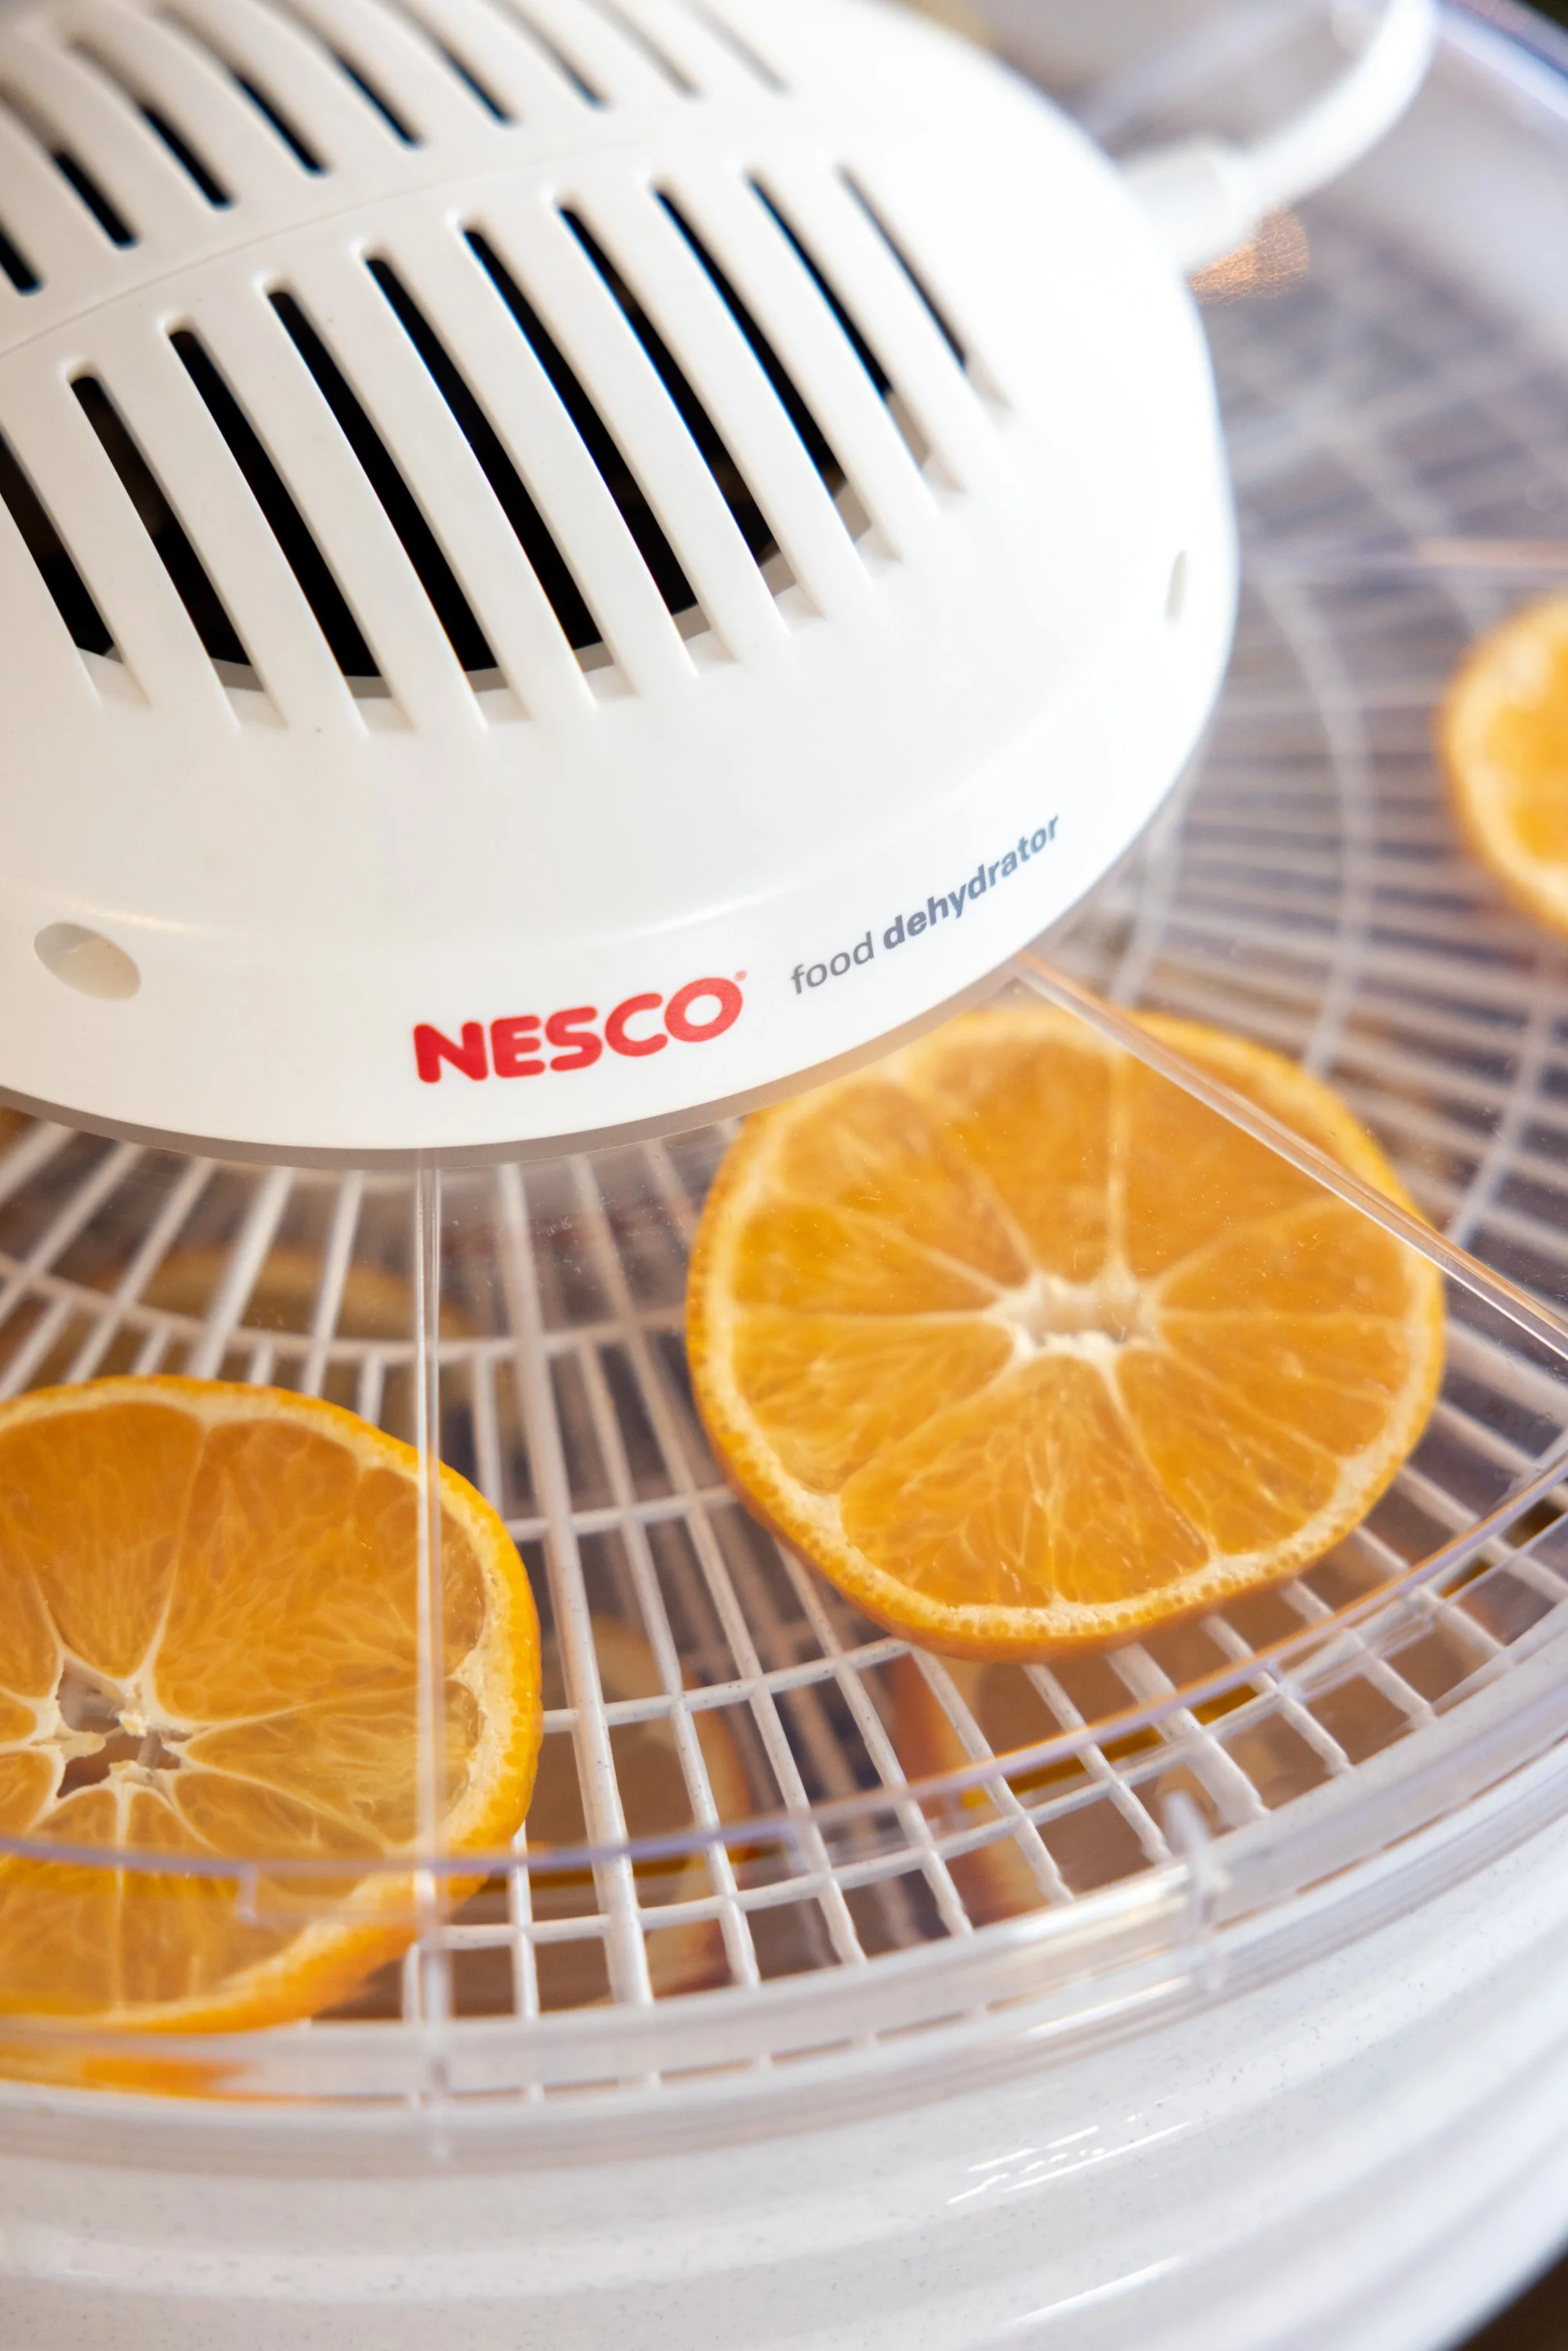
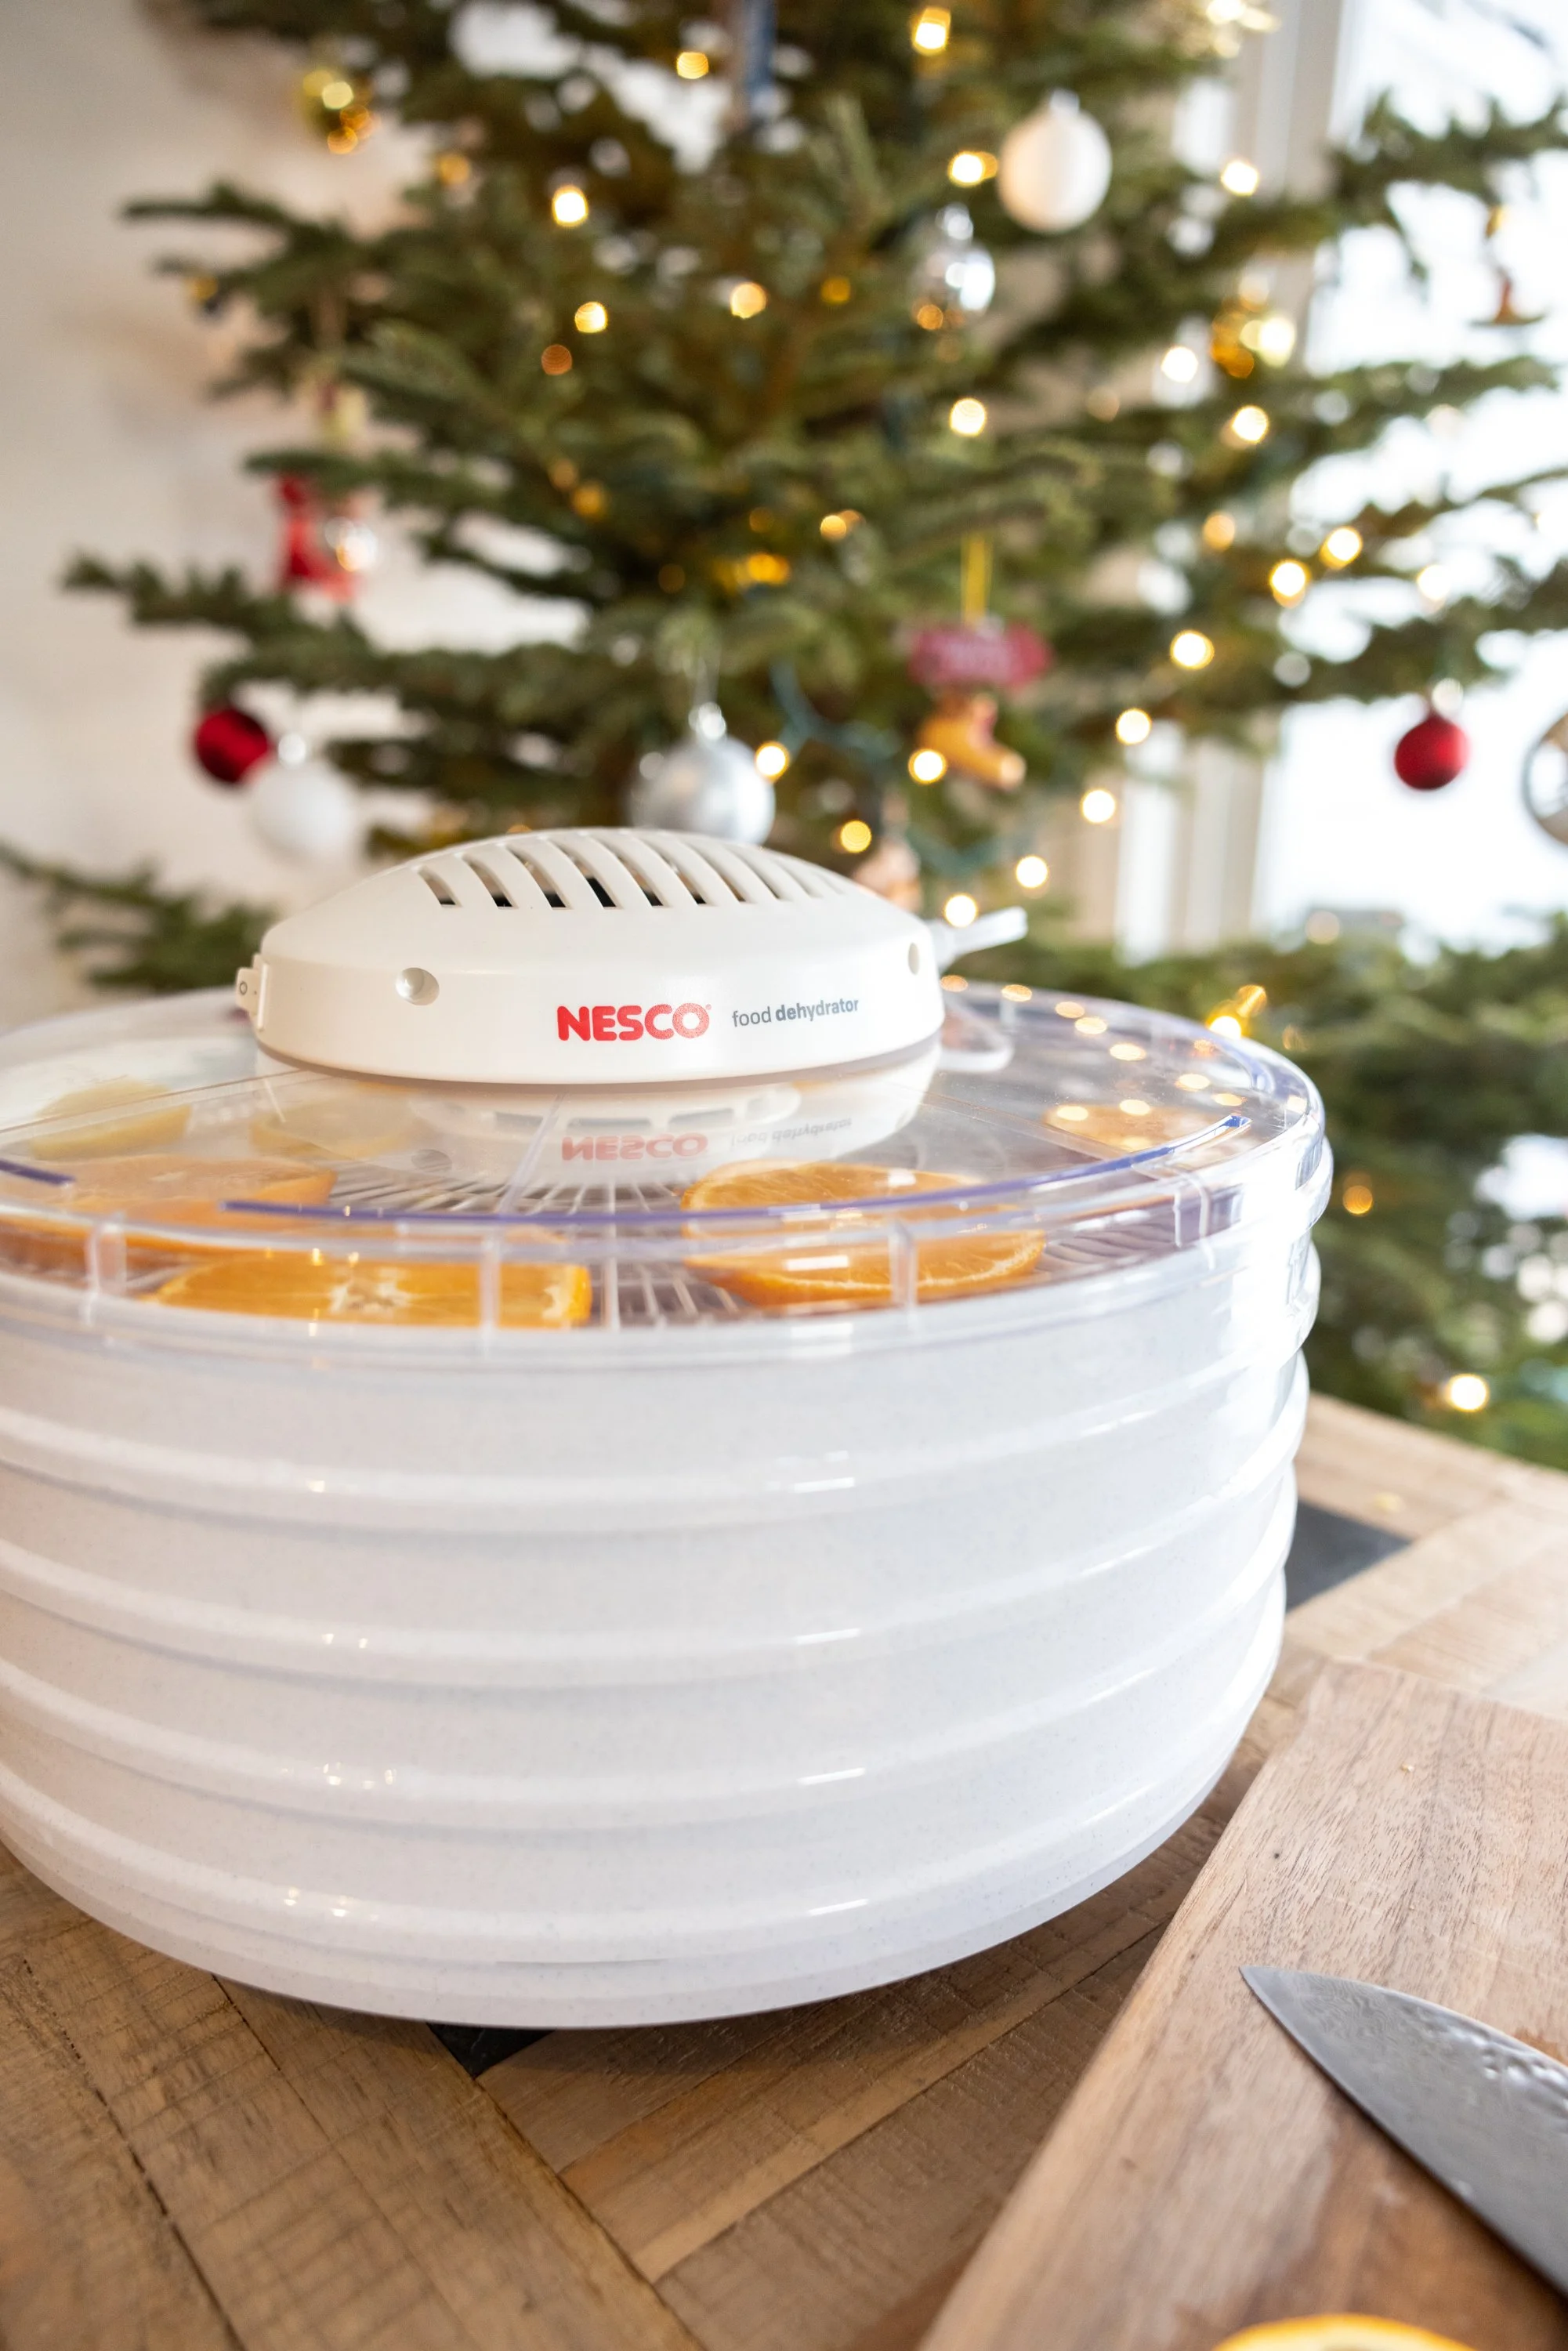
Dehydrator or household oven. I used the Nesco FD-37A Food Dehydrator
Cutting board & sharp knife (or mandoline)
Citrus fruits (like orange, lime, grapefruit) for wreath or fruit of choice for snacks
Tree clippings or artificial branches
Thin twistable wire and pliers or string and scissors
Decorations for wreath like berries, cinnamon sticks, pinecones, bells, ribbons, etc.
Wreath frame (optional, but handy)
Basic Steps For Dehydrating
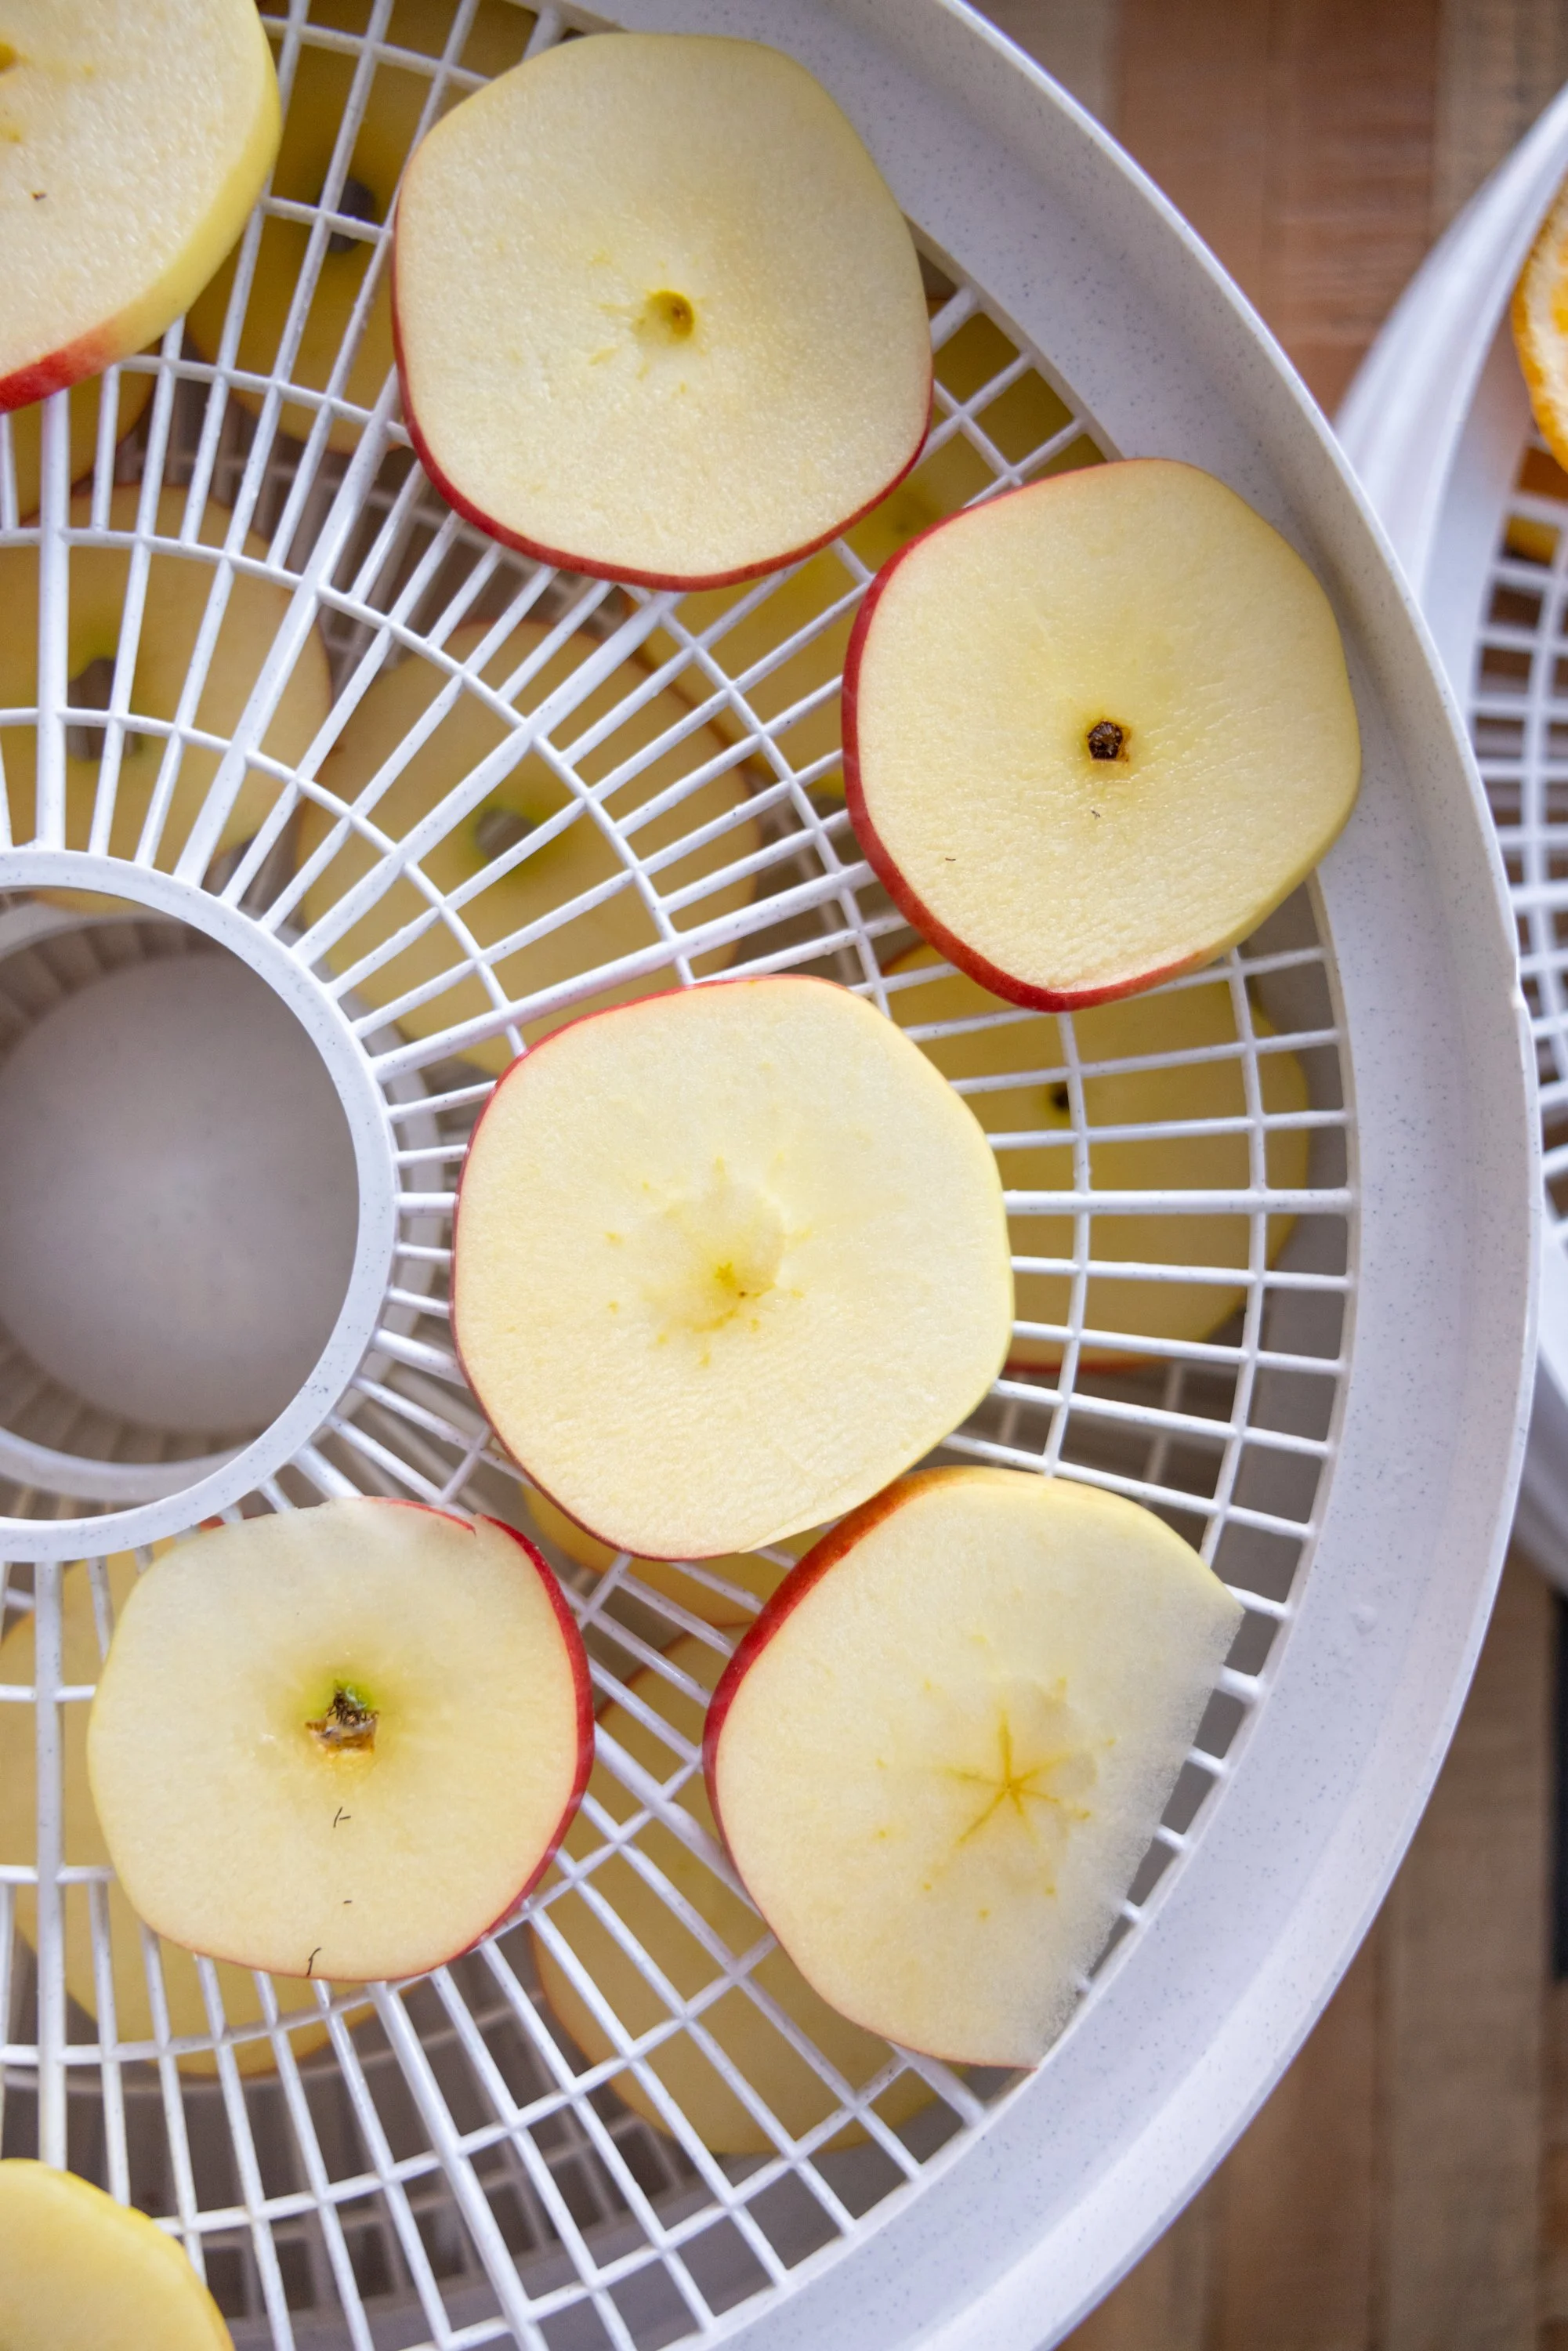
First Step: Wash fruit well and cut into thin, uniform pieces
Make sure to slice fruits into evenly sized pieces to ensure they dehydrate at the same rate. Using sharp knives or a mandoline can be very helpful in this case.
Second Step: Pretreatment (if making fruit snacks)
This refers to certain processes done to fruits and vegetables to help prevent oxidation and help them retain their colour and flavour. There are a few options for pretreatment:
Citric acid/ascorbic acid dip
Fruit juice dip
Honey dip
Blanching or steaming (for vegetables)
For detailed instructions on when and how to pretreat your produce, see my blog post Dehydrating at Home - The Basics.
Third Step: Dehydrate
Place on dehydrator trays, close together but not touching. Cover with the lid and turn switch to “on”. Place dehydrator in well ventilated area while using.
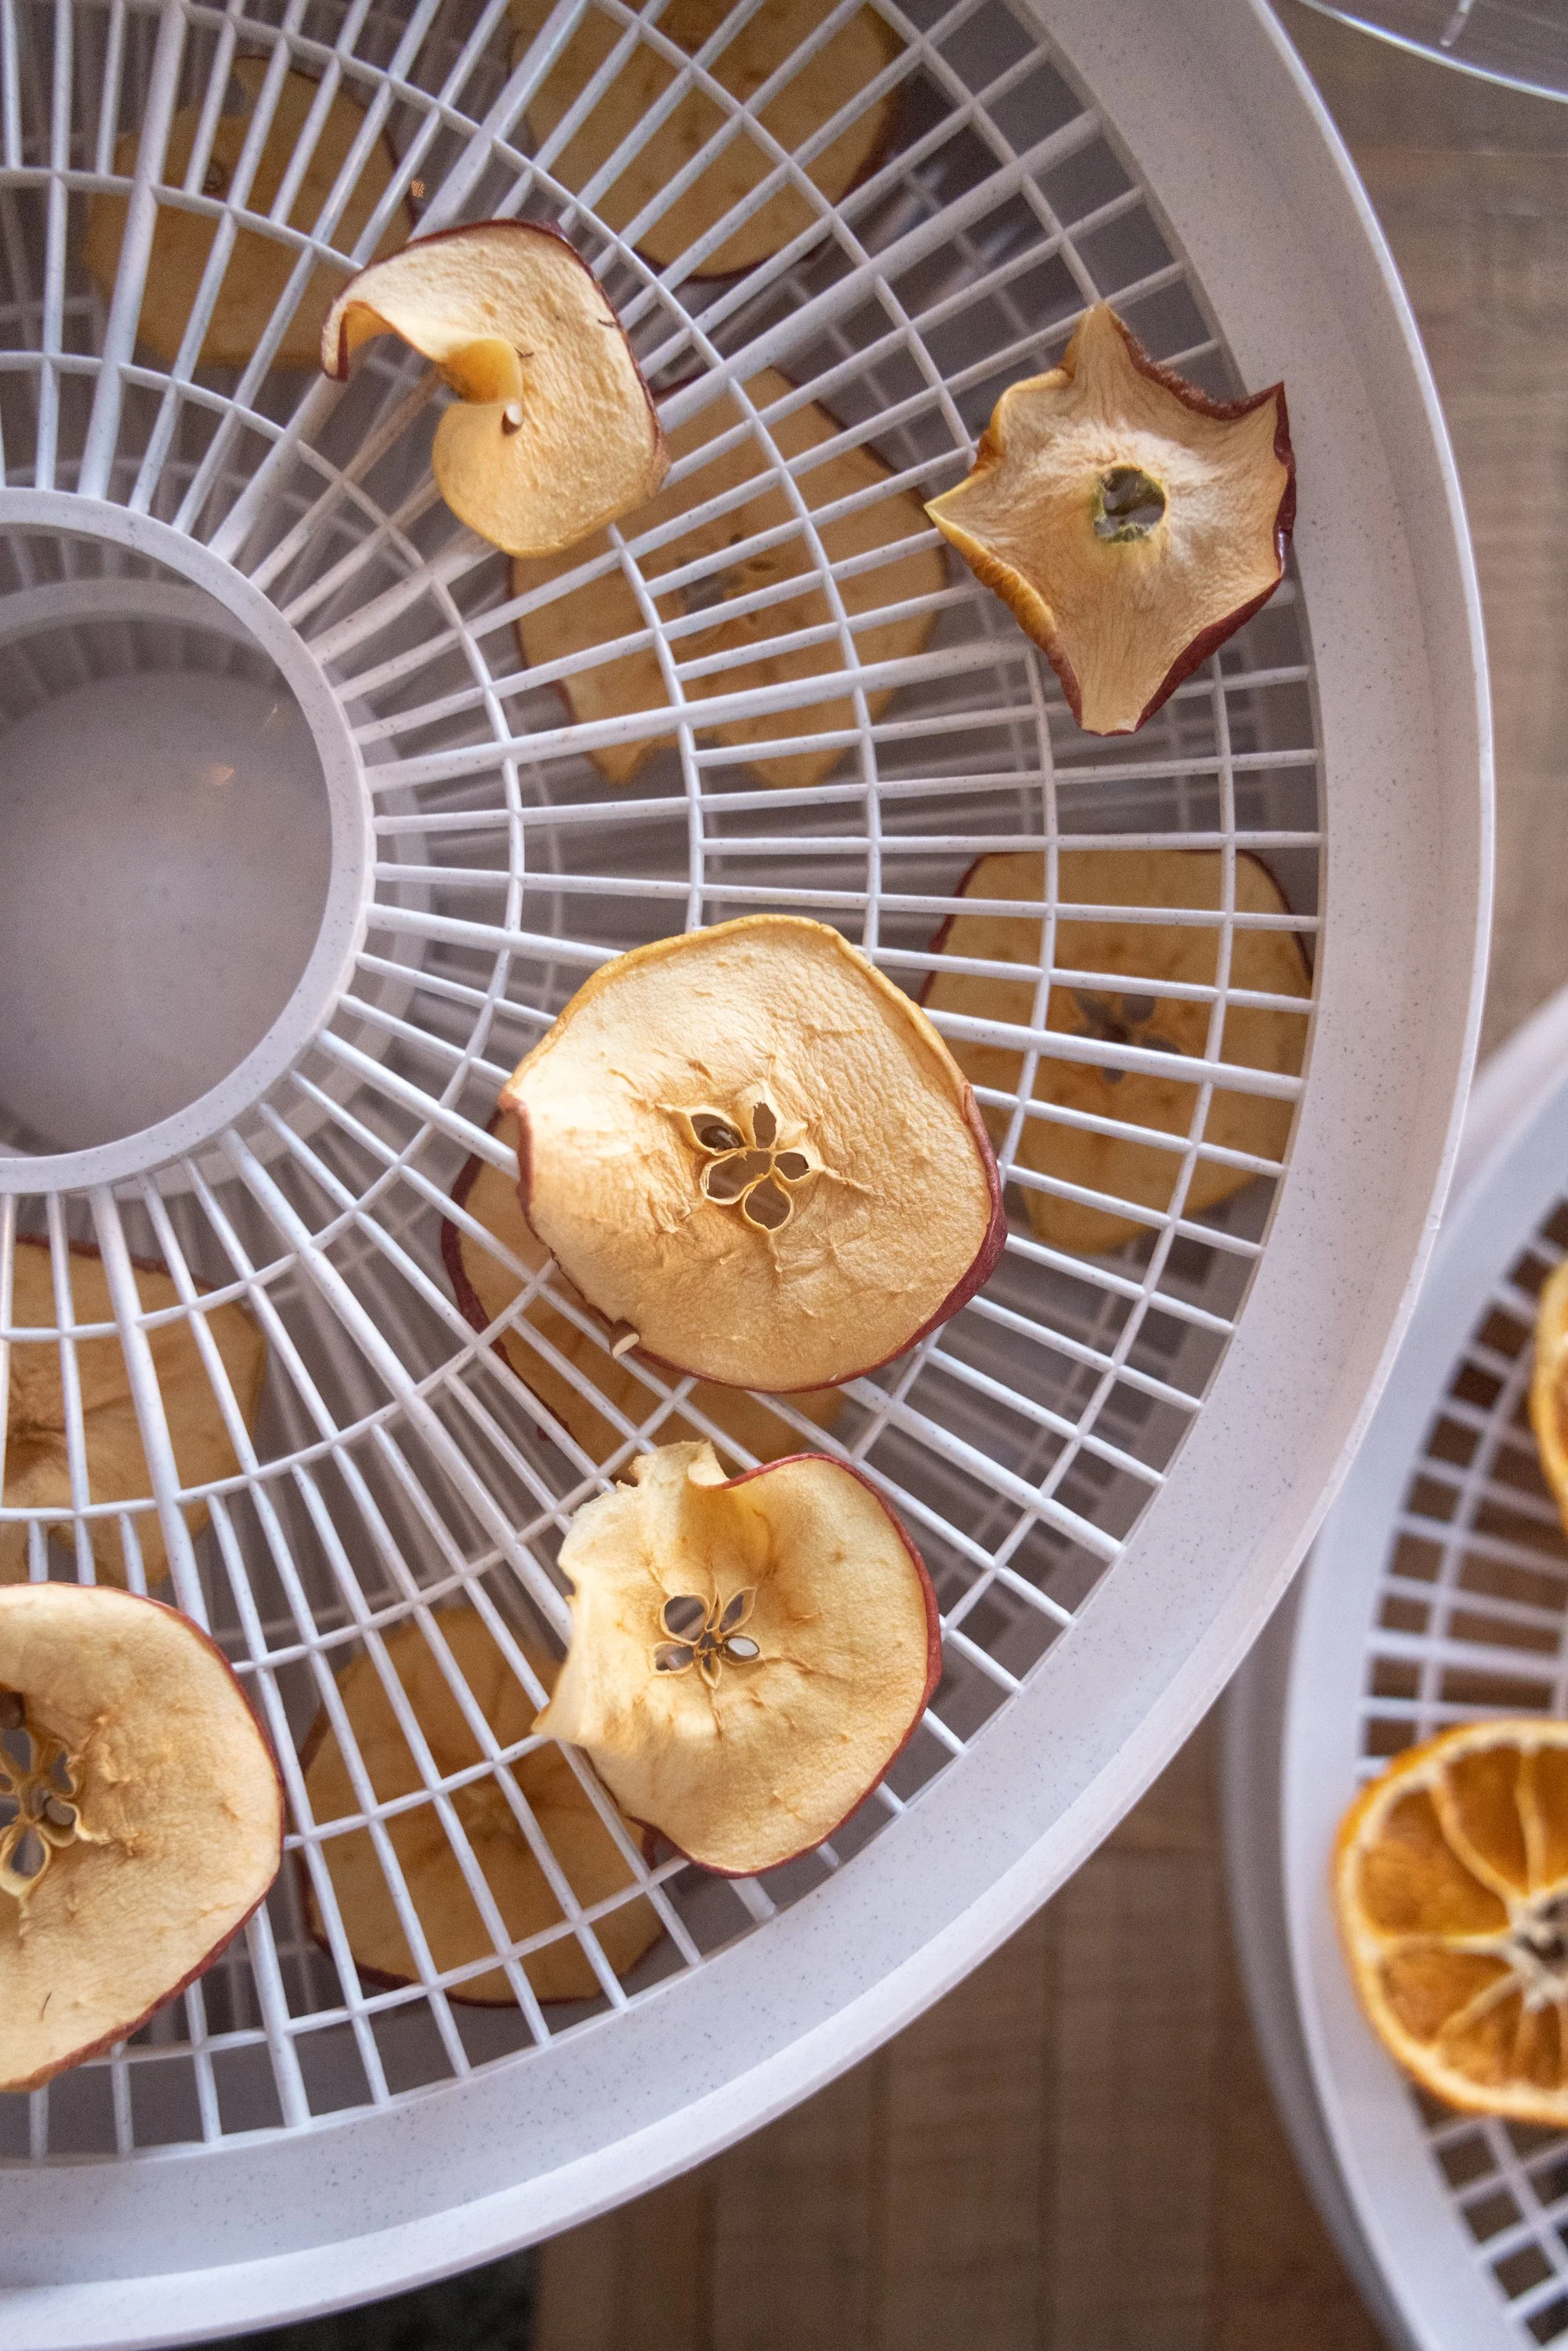
Check fruit after 3-4 hours by touching lightly with your finger. The fruit is done when it is dry to the touch and brittle.
For instructions on dehydrating using your household oven, see my blog post Dehydrating in the Oven.

How To Assemble The Wreath
Secure branches to the wreath frame using twistable wire or string to create a full circle. If you are not using a wreath frame (like me), simply bend branches one-by-one, securing them to each other to form a circle. This may get a little tricky if you have really strong branches (you may need to trim them down to be more bendable).
Prune off any branches that stick out or cause the wreath to be misshapen.
Decorate using dehydrated fruit, pinecones, cinnamon sticks, etc., by securing to the wreath using twistable wire or string. Be creative and make it as manicured or rustic as you wish!

Nesco Dehydrator Product Review
This was my first time using the Nesco FD-37A Food Dehydrator, and here are my initial thoughts:
Pros:
compact, lightweight, stores easily
easy to clean (disassemble and reassemble)
simple to use
very affordable
options to add additional trays to increase dehydrating load capacity (increase from 4 trays to 7 trays)
accessories available like fruit leather trays
beginner friendly
easy monitoring using clear lid
Cons:
no temperature control (fixed temperature at 160F with on/off switch)
no timer (must be turned off manually)
not the most spacious
fan is loud
Overall, I would say this dehydrator is a great entry level dehydrator for someone not wanting to spend a ton of money right away but is wanting to get into home dehydrating. If you plan on dehydrating many different foods, I would recommend looking for something with adjustable temperature control and greater tray capacity.

I’m by no means a craft expert but I thought I would share this fun Christmas craft with you because I enjoyed it so much. Let me know your favourite holiday crafts in the comments below!

More Dehydrating Posts